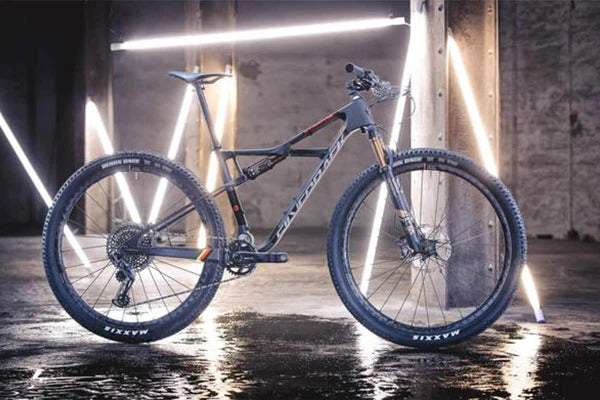
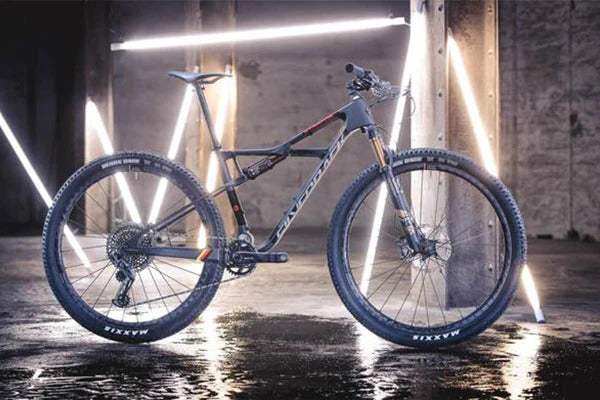
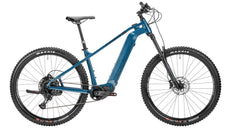
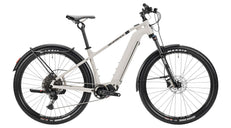
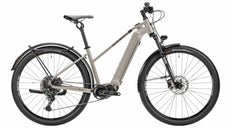
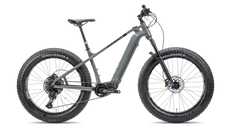
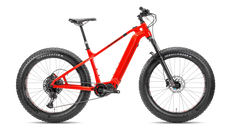
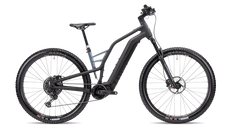
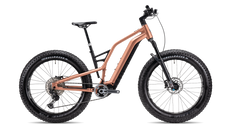
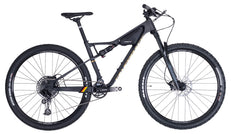
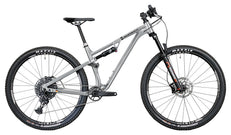
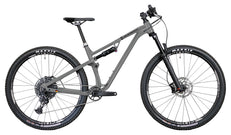
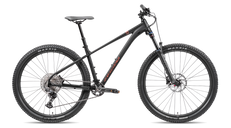
150/145mm Travel
 29" x 2.5" Wheels
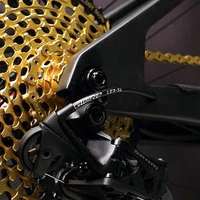
 1x12 Speed SRAM AXS
 EP-801 Shimano Motor
 85Nm Torque
 720Wh Battery
 from 20.9kg


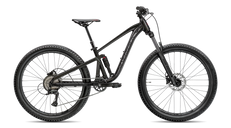
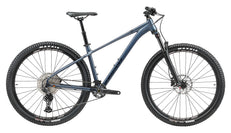
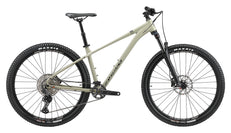
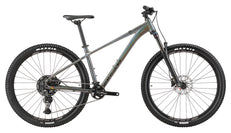
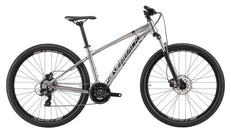
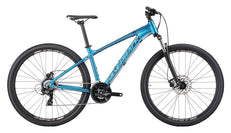
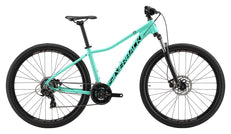
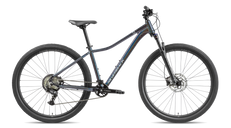
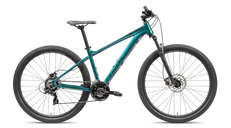
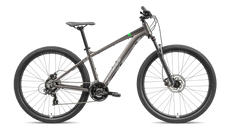
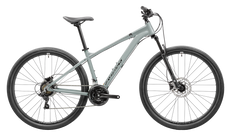
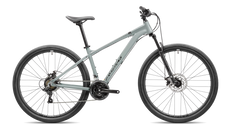
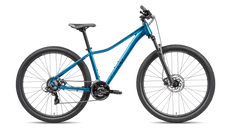
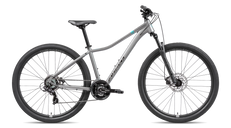
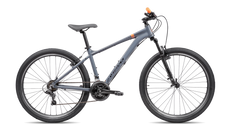
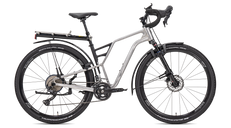
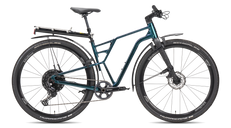
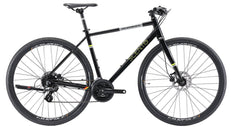
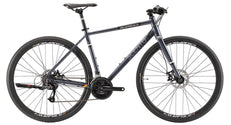
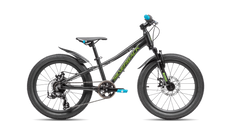
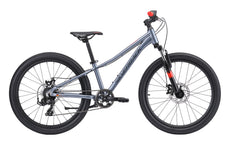
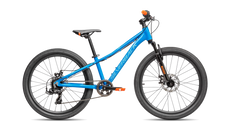
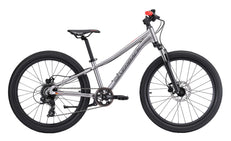





To measure your child’s inseam for a bike, have them stand barefoot against a wall, hold a firm book gently between their legs, and measure vertically from the floor to the book’s top edge. Repeat the measurement, record it in centimetres, and compare it with the bicycle manufacturer’s current fit guidance. The number helps narrow your options, but it does not replace a hands-on check of reach, braking and control.
Why inseam matters when choosing a kids’ bike
Children of the same height can have different leg and torso proportions. Inseam adds useful information about leg length that age and height alone cannot provide. It can help you interpret a sizing recommendation and understand why one frame feels more manageable than another.
However, wheel diameter is not a complete fit measurement. Frame shape, saddle adjustment and handlebar position also matter. Our kids’ bike buying guide explains how to consider these factors together.
What you need before measuring
Use a firm, level floor, a plain wall, a tape measure and a reasonably thick hardback book. A second adult can help hold the tape straight while you keep the book level. Choose comfortable clothing that does not make the book difficult to position. Explain the process to your child first and stop if they are uncomfortable.
How to measure your child’s inseam step by step
1. Start barefoot on a level floor
Ask your child to stand upright with their back near the wall and feet slightly apart in a comfortable stance. Avoid tiptoes, bent knees or an exaggerated wide stance. Bare feet provide a repeatable baseline; you can assess the actual riding shoes during the bike fitting.
2. Position the book gently
Slide the book between the legs with its spine or a straight edge facing upward. Raise it gently until it makes comfortable contact, roughly where a saddle would support the rider. Do not press hard. Keep the top edge horizontal rather than angled toward the wall.
3. Measure from the floor
Measure vertically from the floor to the top edge of the book. If it is easier, have the second adult mark the height temporarily with a removable marker or tape, then measure that point. Keep the tape straight and use the same units throughout.
4. Repeat and record
Ask your child to step away, reset the book and repeat. If the results differ noticeably, check posture and book angle before taking another reading. Record the measurement and date, rather than relying on a remembered trouser size.
Common measuring mistakes and how to fix them
| Mistake | Why it matters | Better approach |
|---|---|---|
| Using trouser inseam | Clothing cuts and seams vary | Measure the child directly |
| Tilting the book | The top edge gives an inconsistent height | Keep the edge level |
| Standing on tiptoes | Changes the floor-to-book distance | Keep feet flat and posture relaxed |
| Relying on one reading | A positioning error can go unnoticed | Reset and repeat |
| Treating the result as a wheel-size formula | Frames and riding positions differ | Use model-specific fit guidance |
How to use the measurement without guessing
Compare the result with the current sizing information for the exact model. Where a manufacturer gives a standover measurement, check how it was taken and ask a retailer to interpret clearance for that bicycle and rider. Do not automatically subtract a fixed number or apply an adult road-bike saddle-height formula to a young learner.
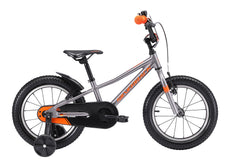
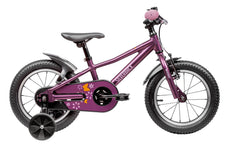
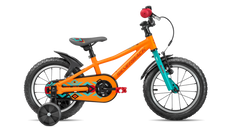
For smaller-bike comparisons, investigate the Skid 14 (New Gen) and Skid 16 (New Gen). They represent different options to assess, not an inseam-to-size conversion chart.
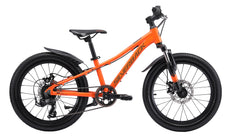
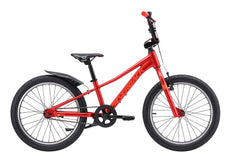
Compare a bike against your measurements: review the Spyke 20 (New Gen) with your child’s current height and inseam to hand. Check the current sizing advice before deciding whether it belongs on your shortlist.
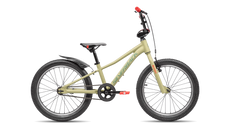
You can also investigate the Skid 20 (New Gen). A shared wheel size does not mean two bicycles will have identical reach, equipment or riding position.
Finish with a real-world fit check
Ask your child to mount, dismount, turn the handlebars and operate the brakes. Then assess starts and controlled stops in a safe, traffic-free area. A learner’s setup may differ from that of an experienced pedaller, so ask a qualified retailer for help rather than relying on a universal feet-on-the-ground rule. Our kids’ bike safety guide covers additional pre-ride checks.
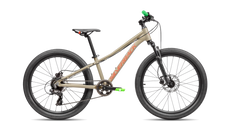
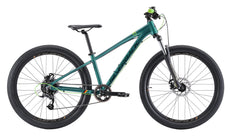
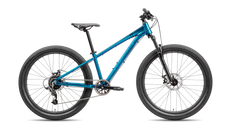
If you are considering a larger bicycle, read our 20-inch versus 24-inch guide, then compare the Spyke 24 (New Gen) using its own guidance. For still larger options, investigate the Spyke 26 7spd (New Gen) only if your child’s measurements and control support that step.
Get a second opinion: take your recorded measurements to a qualified bike retailer and ask for a supervised comparison if your child sits between recommendations.
Frequently asked questions
Should I measure with shoes on?
A barefoot baseline is easy to repeat. Follow any model-specific measuring instructions, and check the final bike fit in the shoes your child will wear riding.
Is inseam the same as trouser leg length?
No. A clothing measurement depends on the garment’s cut and does not reliably replace a direct body measurement.
Can inseam alone tell me the right wheel size?
No. Consider height, frame geometry, reach, riding experience and the manufacturer’s guidance alongside inseam.
When should I measure again?
Measure before a new purchase and after noticeable growth. Reassess the whole fit whenever your child appears cramped, stretched or less comfortable.
Build a sensible shortlist: explore the Silverback kids’ bike collection with your measurements ready, and choose a bike your child can manage today.